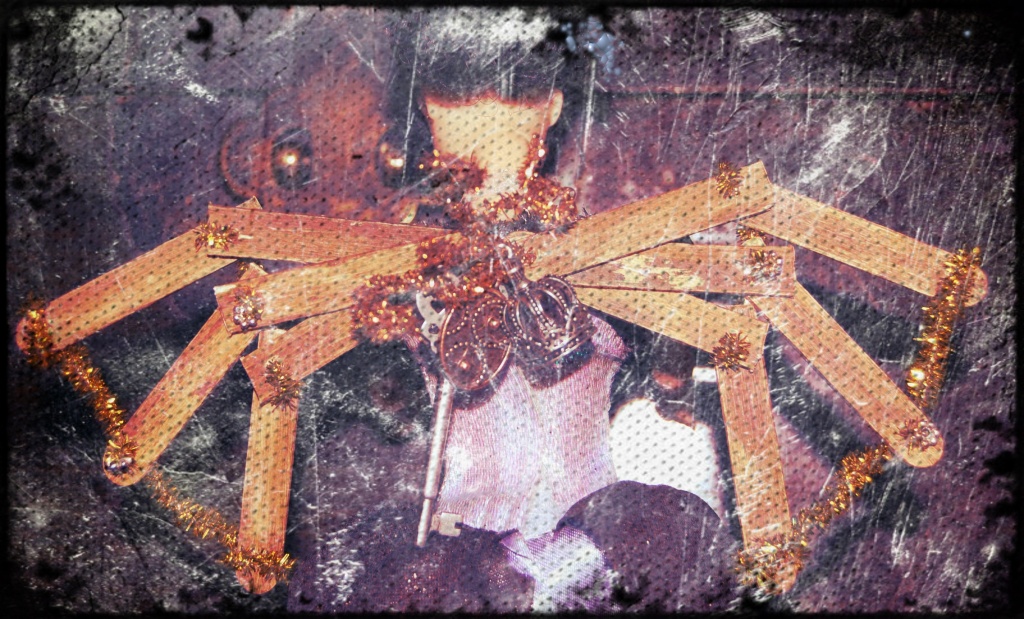
Steampunk has reached official “craze” status, with everyone from Disney to DC Comics, cosplayers to cruise lines, embellishing their wares with gears, tarnished antique gold trimmings and be-goggled top hats. I could lament at the current wave of fad-happy encroachers to a genre that was a favorite of this booklover’s before it was cool, but I welcome its popularity with resounding joy. Honestly, there is a seemingly endless supply of really cool stuff out there now, most of which I can’t afford. Unfortunately for my daughters, they haven’t come out with an official Steampunk Barbie (or Barbie-ish) doll, although I venture they’re working on one, as well. In the meantime, here’s an easy way to make any doll or large action figure a little more imaginative with some (no-glue-needed) Steampunk-style wings.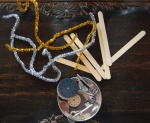
Materials:
- Six craft sticks (aka ice pop sticks)
- Gold, silver, copper or other metallic pipe cleaners
- Small metal beads or other steampunk-y charms or embellishments of choice
- Brown paint, stain, crayon or marker
Unless you’d rather keep the “natural” wood color, paint or color the sticks a darker brown. I used a thin layer of acrylic stain for an old-timey look, but markers and crayons work just fine.Gently (emphasis on “gently” here) cut the sticks in half, and take a small drill bit or screwdriver to bore a hole in each end of the now 12 pieces. This is the most tedious part, because you can’t just nail a hole in this type of stick. This type of wood will —not might…WILL — split if you force it too hard. Ergo, take your time.When you are done with the drilling, set up the wings to get an idea of how they will look. (Figures 1 and 2)
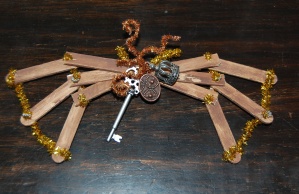
Cut one pipe cleaner in half and place a small bead or charm through each half. Next, fold one pipe cleaner half in two and place it through the middle stick on the wing’s widest point. Then, spread out the pipe cleaner and place each end through the holes in the wing’s outer two sticks and fold over the excess pipe cleaner. Do this for both wings. Now, repeat Step 3 for the middle section of each wing with two differences. One: cut each pipe cleaner half a little bit shorter, so the wings taper in a little. Two: this
is where the wings’ “joint” is, so make sure you have the two “cut ends” of the sticks stacked together with their holes aligned. (Figure 3)
Take the remaining end of each wing and stack them together so all three sticks’ end holes are aligned. Cut another pipe cleaner in half and place one end through each wing. Then, pull them together and tie the pipe cleaner like a twisty tie on a bread package. Take the other half of the pipe cleaner and place it through the center of the tied one if you want to make a more ornate look. Add your charms, gears, little clock faces, springs, Tesla coils (aka springs from old pens), or whatever you like to the pipe cleaners, or curl up the cleaners like octopus legs. Be as simple or clever as you like, here. (Figure 4)
The wings themselves are complete, but if you want to place them on a doll, take another pipe cleaner and…again…cut it in half. Place each half through the pipe cleaner on the “underside” of the wings, and give one or two simple twists to hold them. You can easily tie each cleaner around each of the doll’s arms (or around her neck and waist if that’s easier), and let the adventure begin.
If you’re not into either dolls or Steampunk, these wings can be painted black with black or silver pipe cleaners for some cool Sigma Six flying gear, or go all grey and turn your toy shark or T-rex toy into a weird gargoyle-like creature. You could even hang them on your Christmas tree or decorate your library shelf, like a little Leonardo da Vinci flying machine.
After all, imagination and innovation are what Steampunk is about. Make the wings, even da Vinci would be proud.


