Admit it, Big Bang Theory fans (and even haters), you want a luminous fish just like the one at Sheldon’s beddy-bye stand in Season One.
Turns out, it’s pretty easy. If you don’t actually want a real fish, that is.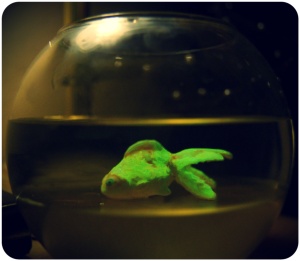
What You Need:
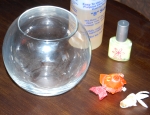
Small Beta fish bowl, votive candle holder or jar
Small, lightweight toy fish
Glow-in-the-dark paint or nail polish
Craft epoxy resin
First, find a fish. I used a 25-cent coin machine plastic fish, but any small toy fish will do. These can be found in little nature in the educational section at toy stores or crafts stores. Old broken wind-up toys (with the ‘innards’ removed) work well for a larger bowls.
Once you’ve acquired your fish, coat it with glow-in-the dark paint. Acrylic paint works best if you’re using paint, but I actually recommend nail polish over paint; it dries nice and glossy and won’t come off or run when you’re ready to put it in the resin. If you do use polish, slap on about three or four coats (letting each one dry before adding the next) to make sure you cover the fish well.
Now, that the fish is ready, mix the resin according to the specific brand’s instructions, making enough to fill the bowl about half full. I’ve said this before, but follow the resin instructions exactly otherwise it won’t harden properly. Pour the mix in, wait until the resin in a little hard (not completely hardened), and gently push the fish on top of the resin. Make another batch of resin and pour over the fish to completely encase it in the “water.” Let it dry completely. This could take a anywhere from a few hours to a day or two, depending on brand of resin.
Keep the bowl by a window or under a bright lamp so he can soak of up plenty of light during the day and glow longer at night.
If he looks a little peaked, douse him with some light from desk lamp or flash light…then sing him “Soft Kitty.”
“Hold on to your butts.”
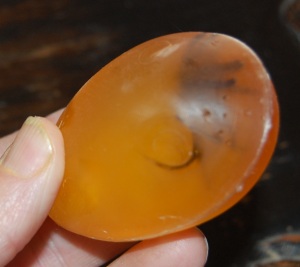
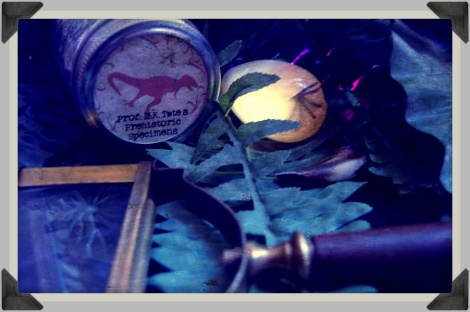
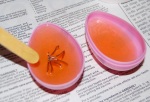
In honor of the 3D big screen re-release of “Jurassic Park,” here’s an Easter egg tribute to the coolest prop in the movie, John Hammond’s amber-encased bug cane head. There’s probably a better name for it than that.
Jurassic Park is one of those movies that, while the book was exponentially better than the movie story-wise, the effects were still amazing (especially for the time), the action wasn’t lacking, and a pre-Mace Windu/Nick Fury/Snakes on a Plane Samuel L. Jackson was there. Although not always in one piece. Spoilers!
This egg craft is a little trickier than our DIY Game of Thrones Easter Eggs, so it’s recommended for tweens (with adult supervision) and older. Be warned, it can get messy if you’re new with resin.
Materials:
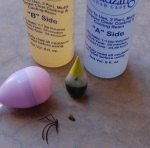
“Easy pour” resin mix (there are several brands available at your local craft stores)
Yellow or orange food coloring
Plastic egg
Plastic spider ring or any other fake bugs
Gloves
Goggles
Protective mask
Directions:
Step One: Before we get to anything else, let’s get the saftey stuff out of the way, because it is the most important. Put on your gloves, goggles, and protective mask. Make sure that you are in a room with good ventilation – these fumes are no joke. And don’t forget to wear protective clothing that you don’t mind getting dirty.
Step Two: Mix your resin according to their brands’ specific directions. I can’t stress this enough. Follow the brand’s direction EXACTLY, as different resins use different ratios (1:1, 2:1). Trust me, I’ve tried to “guesstimate” before, and let’s just say I’m lucky I still have skin on my hands. Do as I say, not as I do.
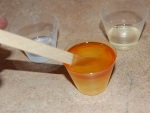
Step Three: Add a couple of drops of your yellow or orange food coloring as you mix. Be sure to mix very slowly if you don’t want bubbles.
Step Four: Pour resin slowly into each egg half and prep your chosen bug. Some resins recommend coating surfaces with petroleum jelly or mineral water to avoid adhesion to the sides of plastic molds. Again, check the brand.
Step Five: Place your chosen bug gently into one of the egg halves. Any bug type will do (or even small toy dinosaurs or reptiles) An elephant mosquito was used in the actual movie prop, if you’re a purist. See note below.
Perfectionist’s Tip: if you want to make an authentic pre-historic ‘skeeter like the one in Jurassic Park, cut one of those plastic spider rings in half (with the ring part cut off, of course) and pinch the legs in until they resemble a mosquito. It works pretty well, and these rings are usually light-weight and easy to find. We somehow accumulate a good six-gross of these each Halloween and they just keep multiplying.
Step Six: Now let that puppy dry. This may take 18 to 48 hours… or longer… depending on mix, weather, temperature, and a laundry list of other factors, but keep patient. If you mixed the resin properly, it will harden. Again with the “follow brand directions” here.
Step Seven: Once dry, remove the egg from the mold. You might need to crack or bend the egg off of the finished mold. If those options don’t work, use a small screwdriver to pry it out.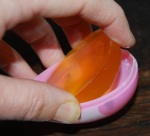
Step Eight: Once out of the mold, glue the two sides of the resin together with some clear epoxy or super-glue. Let dry, of course.
Step Nine: Polish or sand off any seam of flaw you don’t want, but don’t worry if it isn’t perfectly egg-shaped or smooth. You want it to look like a glob of amber.